To slide the rear dash panel down, you need to slide the seat belts through the slit ends of the panel, remove the child safety harnesses and remove a few clips from underneath (trunk side).


Now that the upper suspension nuts are exposed, the seat belt assembly needs to be removed in order to gain better access to remove the three nuts.


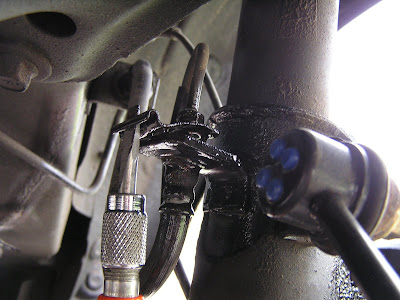
It is important to remove the clip that holds the brake line to the shock absorber assembly.

Then the bolts holding the bottom of the shock absorber assembly are removed.

The stabilizer link bar also needs to be detached at the bottom of the shock absorber assembly.

The whole assembly is now ready to be dropped after the three top nuts are removed. I used plenty of WD40 to clean and help loosen the nuts and bolts. My hands were grimy and blacker than asphalt.


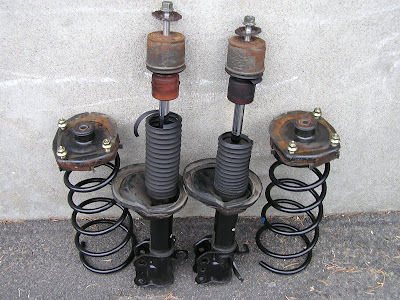
Now it was time to disassemble each unit. I borrowed a spring compressor kit from Canadian Tire. They basically charged me the full price of the kit but will refund me when I return it.
You should never attempt to take apart your suspension without first compressing the coil spring. Once the coil is compressed to the point that it is loose inside the assembly, you can then loosen and remove the piston rod nut to slip all the components apart.


The instructions for the ground control coils call for cutting the the original bumper stops in half and discarding the bottom half. The dust boot is also removed and discarded.


These coils are typically used as part of lowering kits but are height adjustable using a threaded aluminum sleeve at the bottom. In my case, I do not want to lower my car so I set it to the highest possible position hoping that it will give me the same height as the original coils.

When everything was reassembled with the new coils in place, the top of the suspension hung loose with a gap. Dimitri, a fellow EV converter told me that this is apparently normal and that they will sit properly in place when the car is sitting on it's wheels.

I could sure use a massage right now.


1 comment:
Hi,
can some one please tell me how stiffer ground control coils are different than toroidal coils.
Post a Comment